In this article:
Getting started with Axio360
The following information provides an overview of the registration and sign-in flow for Axio360. Use these references to get started with the Axio360 platform.
Registration - Getting Started
After navigating to the sign-in URL, register by selecting the Register option on the sign-in modal. Single Sign On (SSO) is an option.

Use your corporate email during the registration process. You might have received an invitation email from your Administrator. If not, use the platform authentication URL (https://360.axio.com/authentication) to get started.
Initial Sign-in
Users have an option to set up their user profile at this point. Users can update the profile anytime through the Edit Profile workflow.
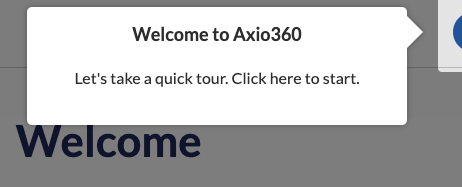
Following a successful sign-up, users can utilize the tour wizard for a quick intro to the main UI navigation elements and areas. The 7-card tour provides information about the functional areas of the Axio360 user interface (UI). Click the user profile area to open the tour modal.

To exit the tour modal, use X or Close Tour.
Sign-in and UI Overview
On subsequent sign-ins, the Axio360 welcome page displays.
The Axio360 UI has left and right navigation areas, while the main work area is in the center of the page. The Welcome page provides quick-step access to start different workflows within Axio360.

Profile Menu
Under the user profile menu, users can access the following:
- Edit profile
- Various export menu options based on license.
- Terms of Service - Link to the corporate site hosting the terms.
- Provide Feedback - Option for users to provide a comment and rate their experience with Axio360 via Send Feedback modal.
- Contact Support - Link to the Axio Customer Support portal.
- Log out
The above-listed menu entries are always available. Depending on the navigation path to the profile menu, different edit options are provided based on the current selection in the left navigation area. Those options include edits to targets, schedules, or export of graphics and reports. A divider separates the page-specific options.
